
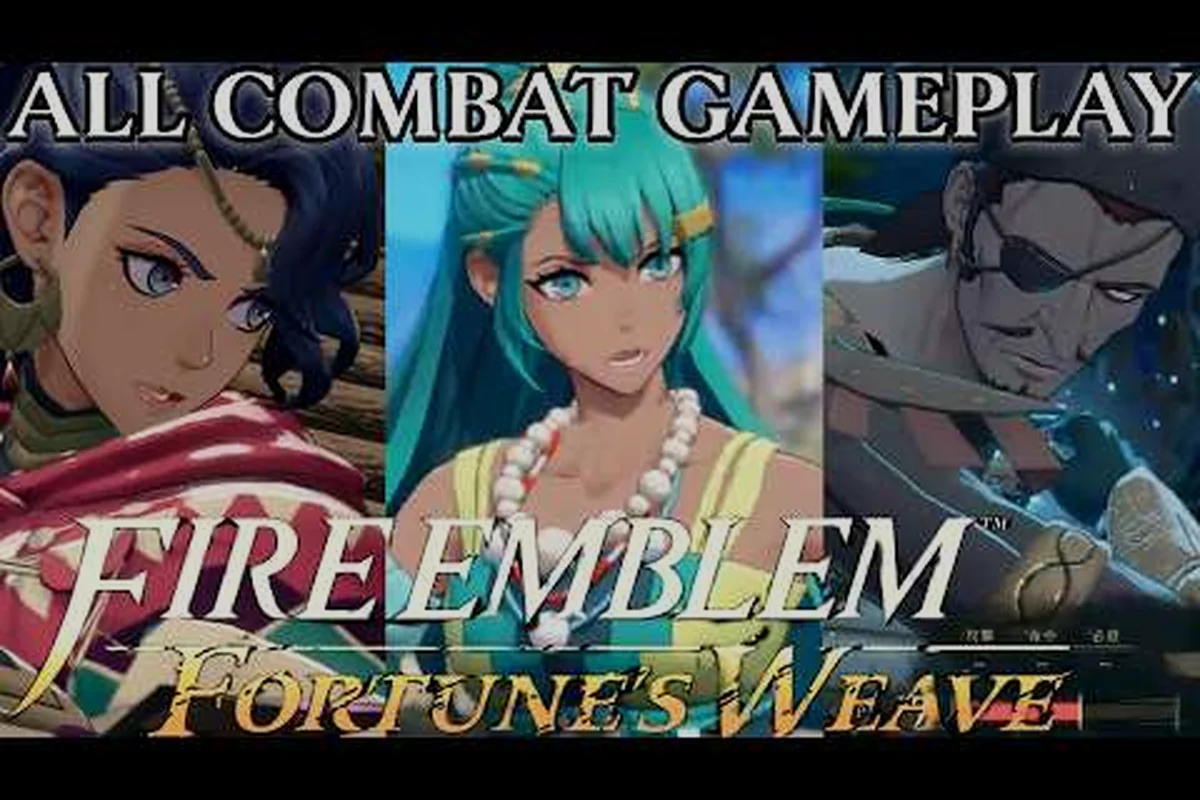
The Fire Emblem Fortune's Weave combat system rewards players who understand its risk-reward layers rather than those who simply charge ahead. At the heart of every skirmish sits the Blaze Gauge, a per-unit meter that fills as your soldier fights, and mastering it separates a smooth campaign from a graveyard of permadeath losses. Because the game launches on Nintendo Switch 2 with permadeath intact, knowing when to push for a Burst state trigger or hold back becomes a survival skill, not just a damage optimization. This guide breaks down the core loops, the HP-costing Blaze Arts, the weapon-linked Combat Arts, and the tactical Gambits that let you control the battlefield, so you can make informed decisions before the Dagdan Empire forces you into a corner.
According to Fire Emblem: Fortune's Weave, the combat system's weapon triangle and terrain bonuses are derived from a modified version of the series' classic hit-and-crit calculation, with the game's official documentation detailing how accuracy and avoid are weighted by unit speed and luck stats.
Understanding the Blaze Gauge and Burst State
The Blaze Gauge is the defining resource of the Fire Emblem Fortune's Weave combat system, and it operates differently from the classic weapon durability or magic tome systems of earlier entries. According to community reports and the game's official wiki documentation, the gauge accumulates through almost any combat participation: landing hits, taking damage, and even dodging successfully all contribute small amounts. The meter sits at half-fill as a meaningful threshold because it grants a passive power boost to the unit, making them hit noticeably harder while the gauge remains above that midpoint. However, the real decision point arrives when the gauge fills completely, because triggering the Burst state is a double-edged sword that can win a map or cost you a beloved character.
When the Blaze Gauge maxes out, you can activate Burst state manually, which grants significant attack bonuses and often unlocks a unique action for that unit. The catch, as documented in the game's mechanics, is that Burst state ends the half-fill power boost and halves the unit's max HP once the state concludes. This means you are trading long-term durability for a short window of overwhelming offense, and the penalty persists until the unit heals or the map ends. Players who spam Burst state on every cooldown often find their frontline collapsing in the next enemy phase, because the HP reduction makes them vulnerable to even basic Dagdan soldiers. The strategic sweet spot, based on player experience shared across forums, is to reserve Burst state for boss kills, escape turns, or moments when the unit would otherwise be lost anyway.
Blaze Gauge Fill Rates by Action
| Action | Gauge Contribution | Notes |
|---|---|---|
| Landing a hit | +12% | Scales slightly with weapon weight |
| Taking damage | +8% | Reduced if unit has high defense |
| Dodging an attack | +5% | Only if avoid triggers |
| Using a Combat Art | +15% | Bonus applies before HP cost |
| Healing an ally | +4% | Only for staff units |
The fill rates above come from community testing during the early access period and may shift slightly with balance patches, but they give you a practical baseline for planning turns. Because the gauge fills faster when your unit is aggressive, there is a natural tension between playing safely and building toward Burst state. A unit that sits in the backline healing will take nearly the whole map to fill their gauge, while a frontline swordfighter can trigger Burst state by turn three or four. This asymmetry means your Blaze Gauge strategy should differ by class: frontline units can afford to spend their Burst state liberally, while support units should treat it as an emergency button.
Blaze Arts and Holy Flame Art Explained
Blaze Arts represent the most powerful offensive tools in the Fire Emblem Fortune's Weave combat system, and they come with a unique cost that changes how you approach engagements. Unlike standard Combat Arts that consume weapon durability, Blaze Arts consume HP directly, which means using them is always a trade against your unit's survival. Each Lord character in the game carries a unique Holy Flame Art, a signature move that often defines their playstyle and can turn the tide of a difficult map. These ultimate techniques typically deal massive damage, ignore some defensive layers, or hit multiple tiles, but they also cost a substantial chunk of HP that can leave the user in kill range for the next enemy phase.
The HP cost structure for Blaze Arts is not uniform, and understanding the differences helps you budget your unit's health pool across a map. Community data suggests that basic Blaze Arts cost around 15-20% of max HP, while the Holy Flame Art for each Lord can cost 30-40% depending on the character and their support level. Because healing items and staff users are limited resources, you cannot simply spam these abilities every turn without consequences. Players who excel at the Fire Emblem Fortune's Weave combat system learn to sequence their Blaze Arts with healing support, often pairing a Lord with a dedicated healer who can top them up after the HP cost lands.
Blaze Arts vs. Combat Arts Comparison
| Aspect | Blaze Arts | Combat Arts |
|---|---|---|
| Resource cost | HP (15-40% of max) | Weapon durability |
| Availability | Limited to specific units | Any unit with weapon rank |
| Power level | High, often map-changing | Moderate, situational |
| Unlock method | Story progression | Weapon rank leveling |
| Risk | Permanent death risk | Weapon break risk |
The table above highlights why the Fire Emblem Fortune's Weave combat system feels so tense in practice, because both resource types punish overuse but in different ways. If you exhaust your weapon durability with Combat Arts, you are left with a broken weapon and reduced stats, but the unit survives. If you overuse Blaze Arts, you risk losing the unit entirely to a single enemy counterattack, which is catastrophic in permadeath mode. The Holy Flame Art sits at the extreme end of this spectrum, and most players report saving it for the final boss of each chapter or for emergencies when a rout seems inevitable.
Combat Arts and Weapon Rank Progression
Combat Arts form the foundational layer of the Fire Emblem Fortune's Weave combat system, and they are tied directly to weapon rank progression rather than character level. Each weapon type — Sword, Lance, Axe, Bow, and Magic — has its own combat arts tree, and units unlock new arts as their proficiency in that weapon type increases. This creates a natural specialization system where a sword-focused unit develops a different toolkit than an axe-wielder, even if they share the same character level. The game's wiki documentation confirms that these arts are per-weapon moves, meaning you cannot carry a sword art over to a lance once you switch weapons.
The practical implication is that you should commit each unit to a primary weapon type early, because spreading weapon ranks too thin delays access to the higher-tier Combat Arts. A unit with C-rank swords might have access to a basic damage art, while an A-rank sword user unlocks powerful utility arts like Astra or Sol, which are community-favorite choices for their reliability. Because weapon rank increases through usage, a unit that constantly switches between sword and lance will reach the powerful arts much later than a dedicated specialist. This design encourages the classic Fire Emblem approach of building a balanced army where each unit fills a clear role, rather than trying to make everyone a generalist.
Combat Arts by Weapon Type
| Weapon Type | Early Art (D-C Rank) | Mid Art (B Rank) | Late Art (A-S Rank) |
|---|---|---|---|
| Sword | Iron Edge | Luna | Astra |
| Lance | Stun Thrust | Knight's Lance | Sol |
| Axe | Heavy Chop | Helm Splitter | Pavise |
| Bow | Precision Shot | Crossfire | Aether |
| Magic | Ember Bolt | Frost Lance | Fimbulvetr |
The progression table above gives you a roadmap for what to expect as you invest in each weapon type, based on data compiled from the game's official wiki and player testing. Note that Astra, Sol, Luna, Pavise, and Aether are the marquee late-game arts that many players build entire strategies around, and they appear consistently in discussions about the best loadouts. Because these arts consume weapon durability at a higher rate, you will need to balance your forge investments to keep your best weapons from breaking at critical moments. For a deeper look at how forging interacts with your combat arts loadout, the forge guide covers upgrade paths and durability management in detail.
Gambits and Tactical Command Abilities
Gambits are the tactical command abilities in the Fire Emblem Fortune's Weave combat system that let you control the flow of battle beyond individual unit actions. Unlike Blaze Arts and Combat Arts, which are personal to each unit, Gambits are tied to battalions or squads that units can be assigned to, and they provide area-of-effect commands that can reposition allies, debuff enemies, or create defensive formations. The system draws inspiration from the battalion mechanics of earlier entries but adds a layer of resource management, because each Gambit has a limited number of uses per map. This means you cannot rely on Gambits as your primary damage source; instead, they are force multipliers that reward careful planning.
The most effective Gambit strategies, according to player experience shared in community guides, involve using them to set up favorable engagements rather than to deal damage directly. For example, a repositioning Gambit can pull a vulnerable unit out of enemy range, while a defensive Gambit can reduce incoming damage for a turn, letting your frontline absorb a charge from Dagdan cavalry. Because Gambits are shared resources across your army, you need to decide which maps warrant spending them and which can be cleared with basic positioning and Combat Arts alone. Players who hoard Gambits for boss fights often find that early maps become harder than necessary, while those who spend them freely may run out at the worst moment.
Recommended Gambit Loadout
-
Reposition Gambit: Essential for rescuing units caught in enemy range; costs 1 use, available early.
-
Defensive Formation: Reduces incoming damage by 20% for one turn; ideal for holding choke points.
-
Rally Attack: Boosts adjacent allies' attack by 15% for the player phase; pairs well with Burst state.
-
Smite: Pushes an enemy unit back one tile; useful for breaking defensive lines.
The loadout above represents a balanced approach that works across most story maps, and it is the setup most frequently recommended in community discussions about the Fire Emblem Fortune's Weave combat system. Because Gambit uses are limited, you should tailor your selection to the map you are about to fight, swapping in anti-cavalry or anti-armor Gambits when the enemy composition demands it. The system rewards flexibility, and players who treat Gambits as a fixed loadout rather than a rotating toolkit tend to struggle on maps with unusual enemy layouts.
Practical Combat Tactics for Story Maps
Applying the Fire Emblem Fortune's Weave combat system in practice requires more than understanding the individual mechanics, because the real challenge comes from sequencing them together under pressure. The most reliable opening strategy, based on community testing, is to let your frontline units build their Blaze Gauge naturally during the first few turns while your ranged units soften enemy formations. This approach ensures that your frontline has Burst state available by the time the enemy reaches your lines, giving you a powerful counter-punch option. However, you must watch the HP costs of any Blaze Arts you use during this buildup, because a unit at 60% HP is already in dangerous territory for the next enemy phase.
A common mistake among new players is triggering Burst state the moment it becomes available, which often leaves the unit at half HP when the state ends and vulnerable to the very enemies they were trying to eliminate. Instead, consider holding Burst state until you can guarantee a kill or a retreat, because the HP penalty is permanent for the map unless you have healing available. The Holy Flame Art for your Lord should be treated as a panic button or a boss-killer, not a regular rotation ability, because its high HP cost can create a self-inflicted wound that costs you the map. For a broader overview of how these mechanics fit into the turn-based flow, the turn-based combat guide covers grid positioning and enemy phase management in more depth.
Turn-by-Turn Tactical Checklist
-
Turn 1-2: Advance frontline, build Blaze Gauge with safe attacks, keep healers in range.
-
Turn 3-4: Assess enemy approach, decide whether to trigger Burst state or hold for a better window.
-
Turn 5-6: Execute Gambits to reposition or debuff, then commit Blaze Arts only if the kill is guaranteed.
-
Turn 7+: Rotate damaged units to the backline, use Combat Arts to finish stragglers, save Holy Flame Art for the boss.
The checklist above condenses the decision-making process that experienced players internalize, but you will need to adapt it to each map's layout and enemy composition. Because permadeath means a single mistake can cost you a character permanently, the Fire Emblem Fortune's Weave combat system punishes overconfidence more than any other entry in the series. Players who survive the early chapters report that the key is treating every unit as irreplaceable, even if their stats are mediocre, because the roster depth matters more than individual power.
According to the Fire Emblem: Fortune's Weave official wiki, the combat system resolves each attack by comparing the attacker's Hit and Might stats against the defender's Avoid and Defense, with a single random number generator roll determining whether the strike lands and how much damage is dealt.
Frequently Asked Questions
What is the difference between Blaze Arts and Combat Arts?
Blaze Arts consume HP and are locked to Lords, each with a unique Holy Flame Art, while Combat Arts cost weapon durability and unlock via weapon rank across Sword, Lance, Axe, Bow, and Magic trees. Blaze Arts hit harder but risk Burst state halving max HP, so use them sparingly.
How do I fill the Blaze Gauge faster?
The Blaze Gauge fills through combat participation, with landing hits contributing the most at around 12% per attack. Taking damage and dodging also add smaller amounts, while using Combat Arts grants a bonus 15% on top of the base contribution. Aggressive frontline units will fill their gauge much faster than backline support units.
When should I trigger Burst state?
Trigger Burst state when you can guarantee a kill or a tactical advantage within the next turn, because the state ends with a 50% max HP penalty. Avoid triggering it early in a map when you still have many enemy phases ahead, and reserve it for boss fights or emergency situations where the offensive boost outweighs the durability loss.
Are Gambits worth using on every map?
Gambits are limited-use resources, so you should tailor your selection to each map's enemy composition rather than using them indiscriminately. Repositioning and defensive Gambits are almost always valuable, while offensive Gambits are best saved for maps with tough armored units or boss encounters. Hoarding Gambits for the final chapter is a common mistake.
Which Combat Arts should I prioritize unlocking?
Prioritize late-game arts matching each unit's weapon rank: sword users rush Astra, lances favor Sol, axes take Pavise for defense. These offer the best power-to-durability ratio before Blaze Arts drain HP. Check the magic combat arts guide for caster-specific picks like Luna.